Unboxing – Inside
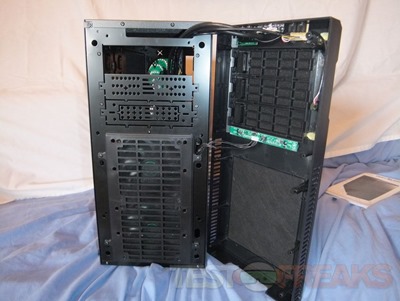
So let’s start looking at the inside by taking off the front bezel, thankfully it just pops of easily. One of the 5.25” bays is already open for you and the other two can be fairly easily removed.
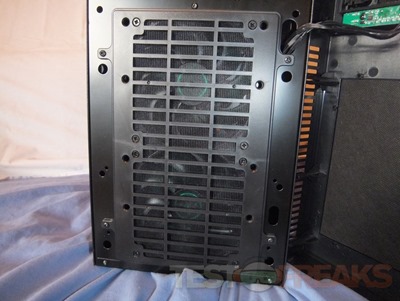
You’ll find two 120mm fans pre-installed for you which can be accessed by removing four screws. The whole front section where the fans are is the mount for them.
When you take off the right side panel you’ll find it covered with a thin layer of sound dampening material.
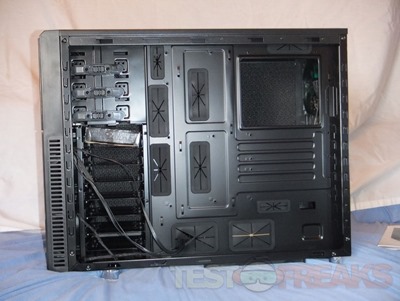
So here’s the right side of the case, you’ll see a nice large are where the CPU would be, this makes things easier when you want to swap CPU coolers so you don’t have to remove the motherboard for the case.
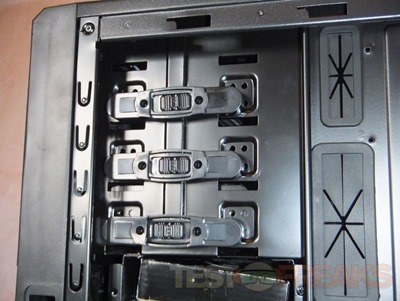
The 5.25” bays are tool-less, on both sides you’ll find sliding locks that hold your devices in place.
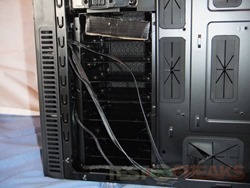
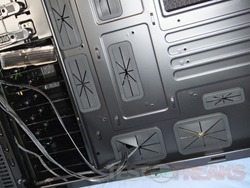
There’s plenty of places to route cables through to the back of the motherboard tray and they’re all protected with rubber.
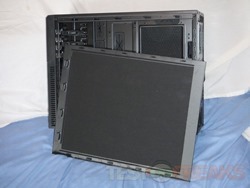
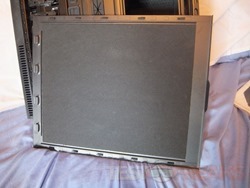
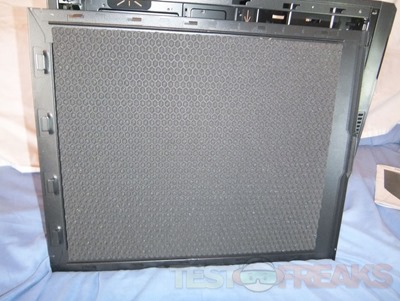
The left side panel of the case looks a bit different, at the least the sounds dampening material does. This side has material which is thick and fluffy, kind of spongy.
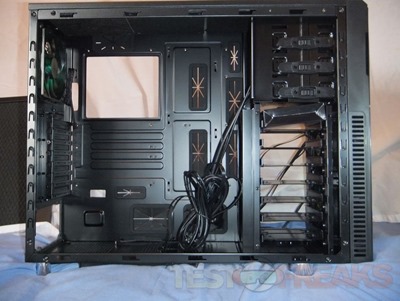
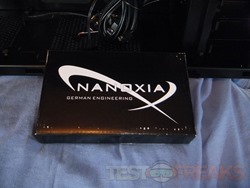
Well then here’s what it looks like on the inside of the case. Yes it’s all painted black just like the outside, it’s nice to see the full paintjob. There’s also a box of accessories stuck in one of the hard drive bays.
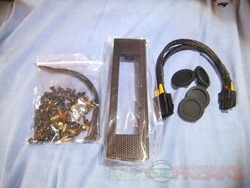
In the accessory box you’ll find solid rubber plugs if you’re not using the liquid cooling ports, an extension for the power supply, a 5.25” to 3.5” bay adapter faceplate and then of course the bag of screws for installation which also includes a few zip ties.
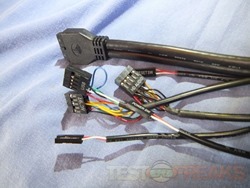
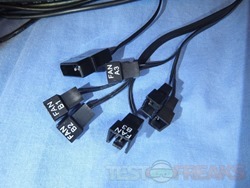
The bundle of wires hanging down in the case is more than just for the common motherboard headers. There’s connections for audio, UBS 2.0 and USB 3.0 and the other mobo header connections. The two fan controllers in the front of the case can control three fans each and inside you’ll find a Molex power adapter to power those fans and six female fan connections.
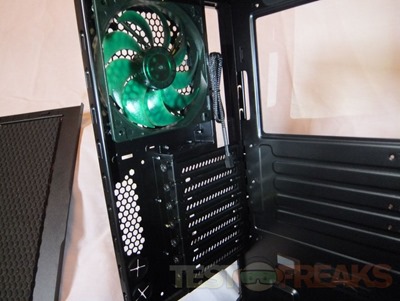
Ok back to the inside of the case. On the back side you’ll see the pre-installed fan along with the PCI slot covers that are held in place with thumbscrews.
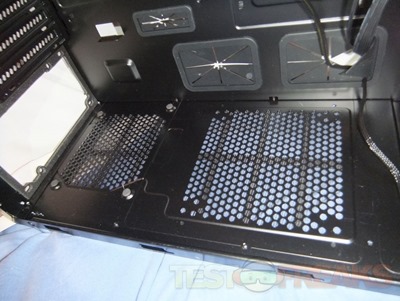
Here’s the bottom of the case where the power supply would sit, there are actually four feet here to slightly raise the power up and the back section where the PSU touches the case there is a vibration dampening gasket. You can also install another fan on the bottom of the case in front of the power supply.
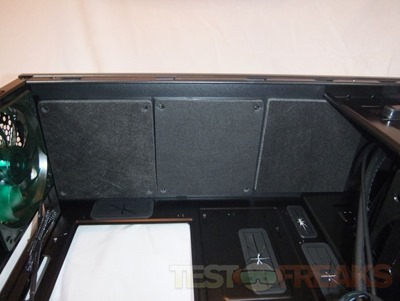
Here’s the top of the case from the inside, there is noise dampening material here held on with four screws each so you can remove them and install fans if you want to.
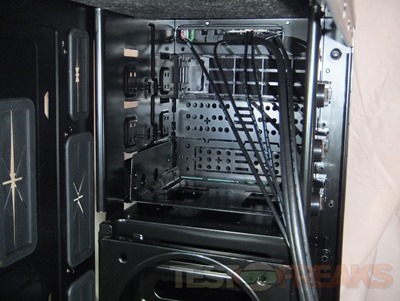
Here’s a view at the inside of the 5.25” bays, you also find an adapter in there for you so you can use 3.5” devices like card readers if you want.
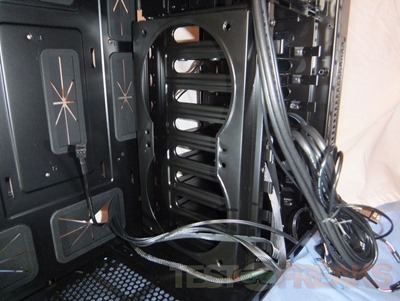
Below the bays, and in front or behind the hard drive cage is another mounting bracket for two more fans.
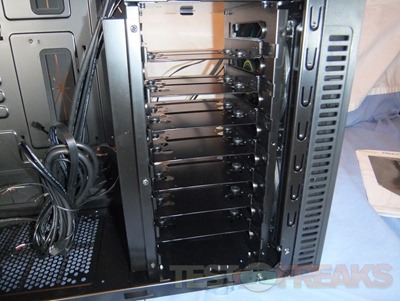
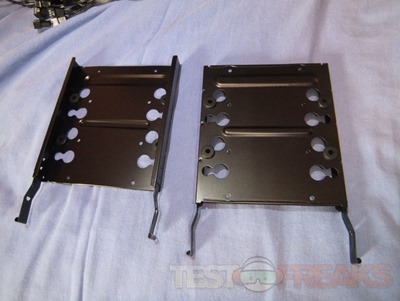
Then here’s the hard drive cage, each hard drive gets it own removable metal tray. You can fit seven 3.5” or 2.5” drive in the rack.
The trays are metal and have silicone vibration dampeners in them for you already.

5 comments for “Review of Nanoxia Deep Silence 2 DS2 Mid-Tower PC Case”